You can make a short rotation video without a turntable or a sequence of product photos. Start with one clear image, generate the movement, then check the details before uploading the clip to your store. This guide follows the RotateProduct workflow and explains the decisions that affect the result.
The output is a video. It plays the product turning; shoppers do not drag it around like an interactive 360 viewer. If you need that distinction before choosing a tool, read the comparison of rotation video, interactive 360 and 3D.
1. Choose a photo with one clear subject
Use a photo you own or have permission to use. Keep the whole product visible, including straps, handles and other projecting parts. Leave room around the object so the rotation has somewhere to go. A plain background and even light make it easier to separate the product from its surroundings.
Start with a product whose visible shape is easy to understand. A complicated transparent container or a label covered in small print needs more careful review than a simple opaque object. Do not remove important real features just to make the generation easier.
The source-photo guide explains framing, shadows and reflective surfaces. A phone photo can work; a sharp, honest source matters more than owning a particular camera.
2. Make your first preview
Create your RotateProduct account and follow the setup questions. Upload the product photo when prompted. Your first video renders as a watermarked preview, so you can judge your own product before choosing a subscription. The preview is not an ongoing free allowance; a plan unlocks its clean download.
Wait for the generation to finish rather than repeatedly starting the same upload. Render time can vary. The progress indicator is an estimate, not a delivery deadline.
Source photo
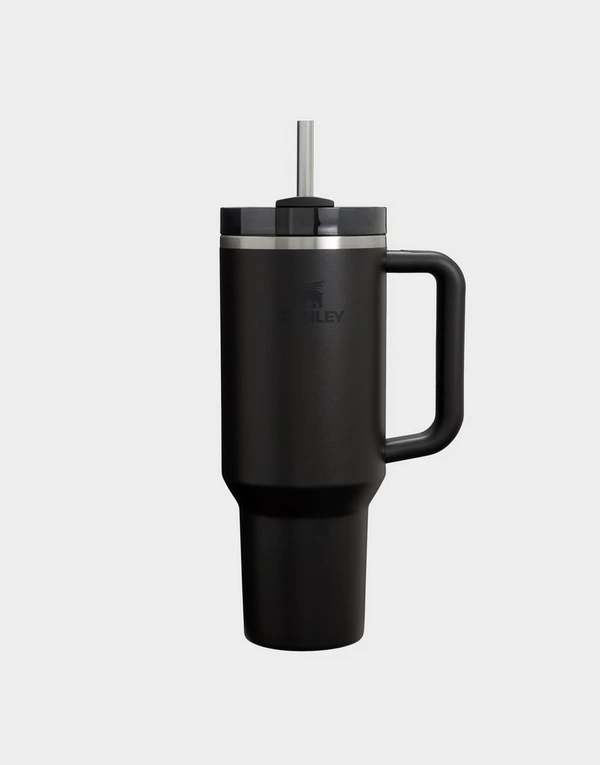
Generated video · press play
This is an existing product demonstration, not a claim that every source image produces the same result. The generation settings for this example were not recorded.
3. Choose settings for the intended placement
For subsequent generations in the app, choose the options shown for your account and selected mode. Common choices include five or ten seconds, 480p through 1080p, and square, vertical or landscape framing. Availability can depend on the mode. The cost displayed before generation is the one to check.
- Use a square composition when the product gallery is square and a vertical composition when the destination is a vertical feed. Leave room for platform overlays.
- Start with five seconds if a short turn answers the customer's question. A longer clip is useful only if the motion needs the time.
- Choose resolution for the size at which the clip will be displayed. Higher resolution cannot recover an inaccurate shape or label.
- Leave the optional end frame unset for the default returning turn. A second image can guide the final view, but it does not verify every intermediate angle.
See current pricing for plans. Longer duration, higher resolution and optional features can change the credit cost. Do not assume every combination costs the same as the baseline video.
4. Review the complete rotation
Watch once at normal speed, then pause on the side and rear views. Compare the opening frame with the source photo. Check the number of objects, silhouette, colour, texture, logo and any text. Watch the join between the final and opening frames if you intend to loop the video.
AI infers details it cannot see. A plausible back is not a verified back. Keep real photographs of ingredient labels, safety information, connectors and other purchase-critical features. Do not publish a result that implies the product has a feature it does not have.
If something changes or bends, use the rotation troubleshooting guide before spending more credits on variants. A free retry is available only when the app offers one; it is not an unlimited guarantee for every generation.
5. Download and publish
Unlock the clean first preview with a subscription, or download a completed paid generation. MP4 is the straightforward choice for a normal product-video upload. Animated WebP is another output option, but support depends on the destination.
Upload the clip beside the real product photos. Check the published gallery on a phone: can the customer find the play control, see the whole item and return to the still images? For Shopify, follow the product-video publishing walkthrough. For Etsy, use the listing-video upload guide. For a custom website, check file size, formats and page speed.
When one photo is not enough
Use real multi-angle photography when each side must match exactly. Choose a 3D model when shoppers need free rotation, configurable materials or AR placement. An AI video is useful when a short, reviewed motion asset fits the task and the inferred details are acceptable.
The 360 product spin page shows the available deliverable. Start with one product, review the result, then decide whether the workflow fits the rest of your catalogue.
Try it with your product photo
Make a 360 product spin video from one photo. Your first preview has a watermark; a subscription unlocks the clean download.